
Mando Venture
The search for the perfect instrument
Creative Planning


I drove to Boone and met with Richard. He showed me many instruments and we talked about what I wanted in an instrument. I brought my two favorite mandolins to take measurements. We looked at wood for the body and top, discussing the tone of different blanks of wood. Once back home, I sent various pictures of instruments and style elements that I liked. The pictures at left show a gypsy jazz-style guitar (a style I wanted to echo) as well as an art deco design element that I liked for a headstock shape.
Richard drew pictures, and we continued to refine our thinking via email. Eventually he built a prototype out of scrap wood so I could see how it felt to hold and "play". I drove to Boone again to try the prototype out. Right away I realized that my idea of the longer neck on the top wouldn't work. The headstock of the shorter neck would be too close to where my hand sat on the longer neck. The beauty of the prototype was that Richard was able to unbolt the necks and reverse them. This felt better in my hands, but we realized that playing up the shorter neck would be limited by the body in the middle. So, we cut away some wood for a kind of internal cutaway (cutaways of the body are common to give the player more room to play up the neck of the instrument).
We looked at wood blanks and I settled on bird's-eye maple blanks. In the end, I had Richard pick the top wood. I listened to him tapping the tonewood blanks (glued up wood top blanks). I didn't know what to listen for, so I decided to let the expert choose. We also talked about binding (the trim that wraps the edges of the instrument). I decided on a mock tortoise shell binding. With a plan in mind, we agreed to start building. Over the next several months we went back and forth on various design elements, including styling for the dots on the fretboard and the headstock style. We also had to choose tailpieces, tuner options, pickups and the color of the instrument (strawberry blonde).
The pictures below show some of the design process. Float your cursor over the image for a description. Click on the image to see the full picture.
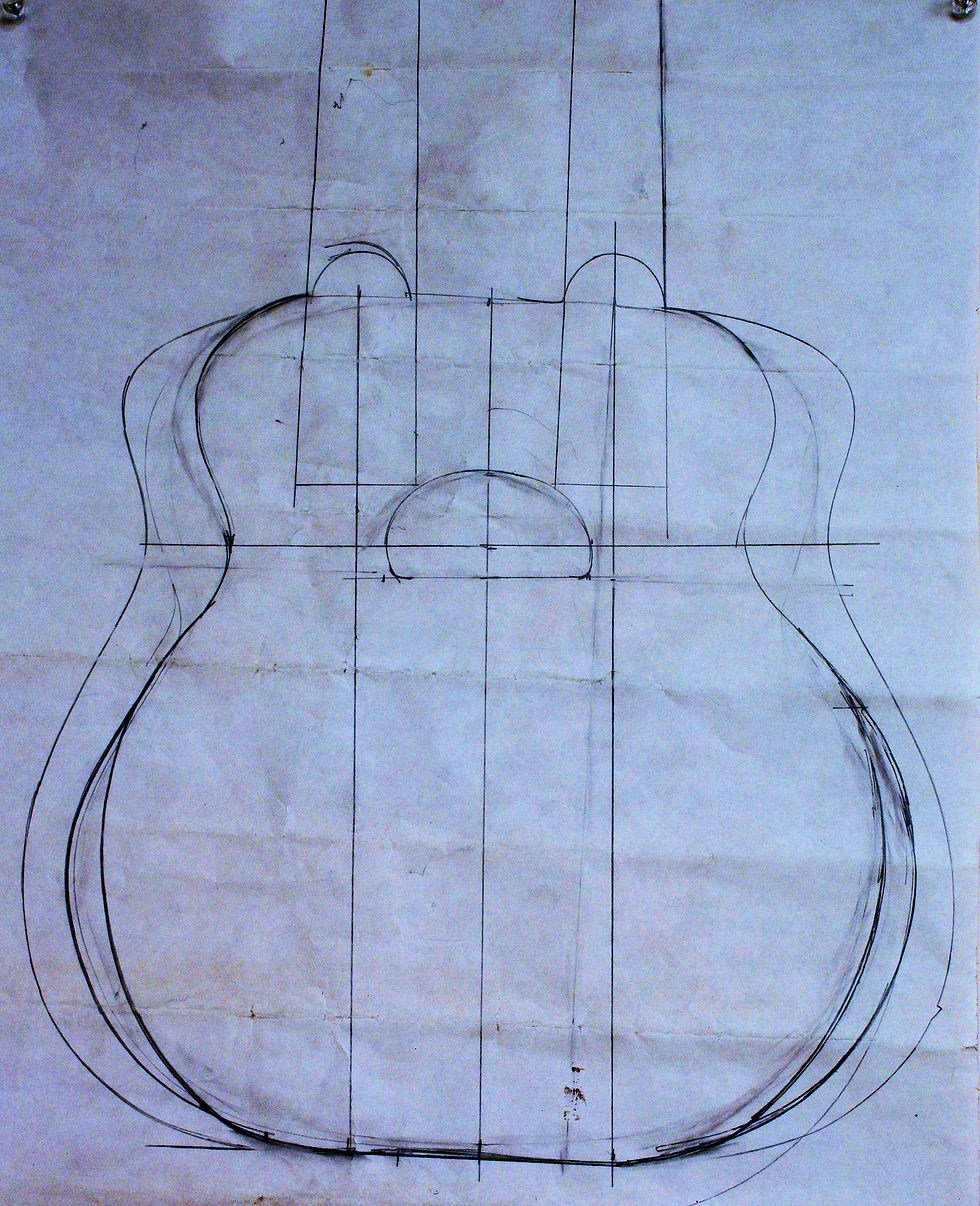
Working out the general body shape. First we talked about various other guitars and mandolins, then discussed various side profiles. You can see the evolution in this drawing.

The length of the scale, length of the neck, and bridge placement all interact in the design. Measurements for bridge placements depend on how much of the neck is extended past the body. The octave neck will meet at the 10th fret, the other at the 15th. This puts the bridges not quite parallel.
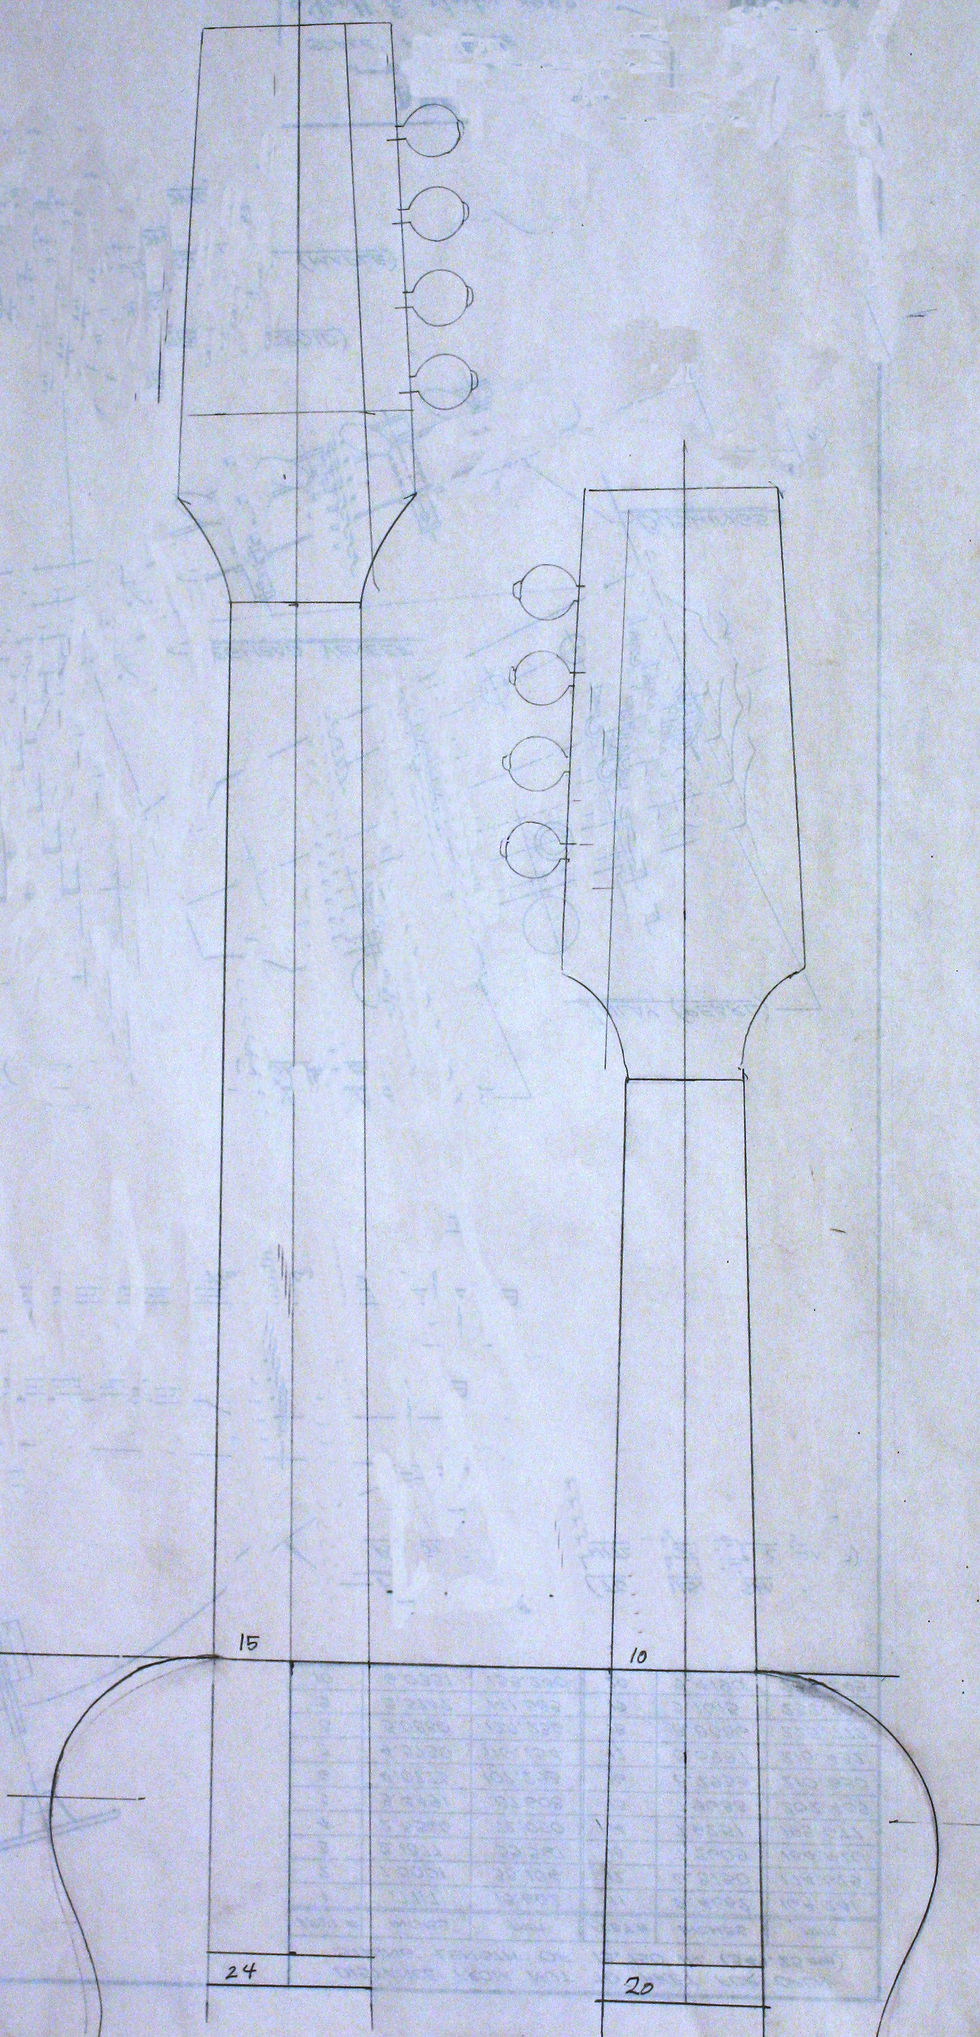
The neck drawings helped visualize the relative position of the two necks and headstocks.

A simple mockup of the body and necks, with the original idea of the longer neck on the upper side of the instrument.

The prototype even had mocked up neck thickness to try how it feels to hold and "play". From this we learned that the shorter neck needed to be on the top side of the instrument to avoid a tight squeeze when playing the longer neck. The shorter neck headstock was too close for comfort.

This headstock was from another unusual instrument Richard created. The shape is similar to what I want for a headstock.
We discussed tailpiece options. This is a very simple option - too plain for me!
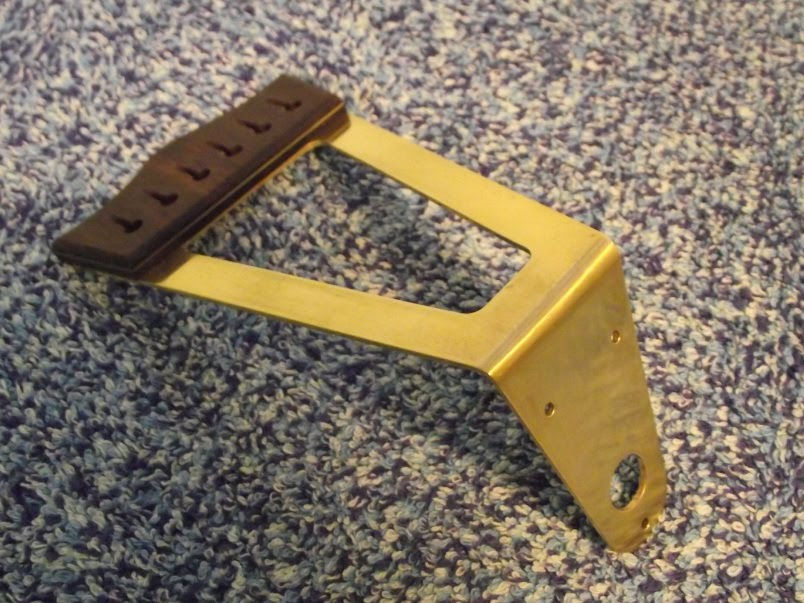
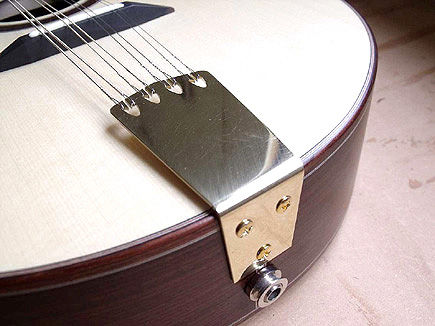
I wanted something that was reminiscent of the old jazz guitar "trapeze" tailpieces. This is a shop-made example, fairly plain. I ended up finding cast brass tailpieces that echoed the trapeze style. Watch for them on the next page.
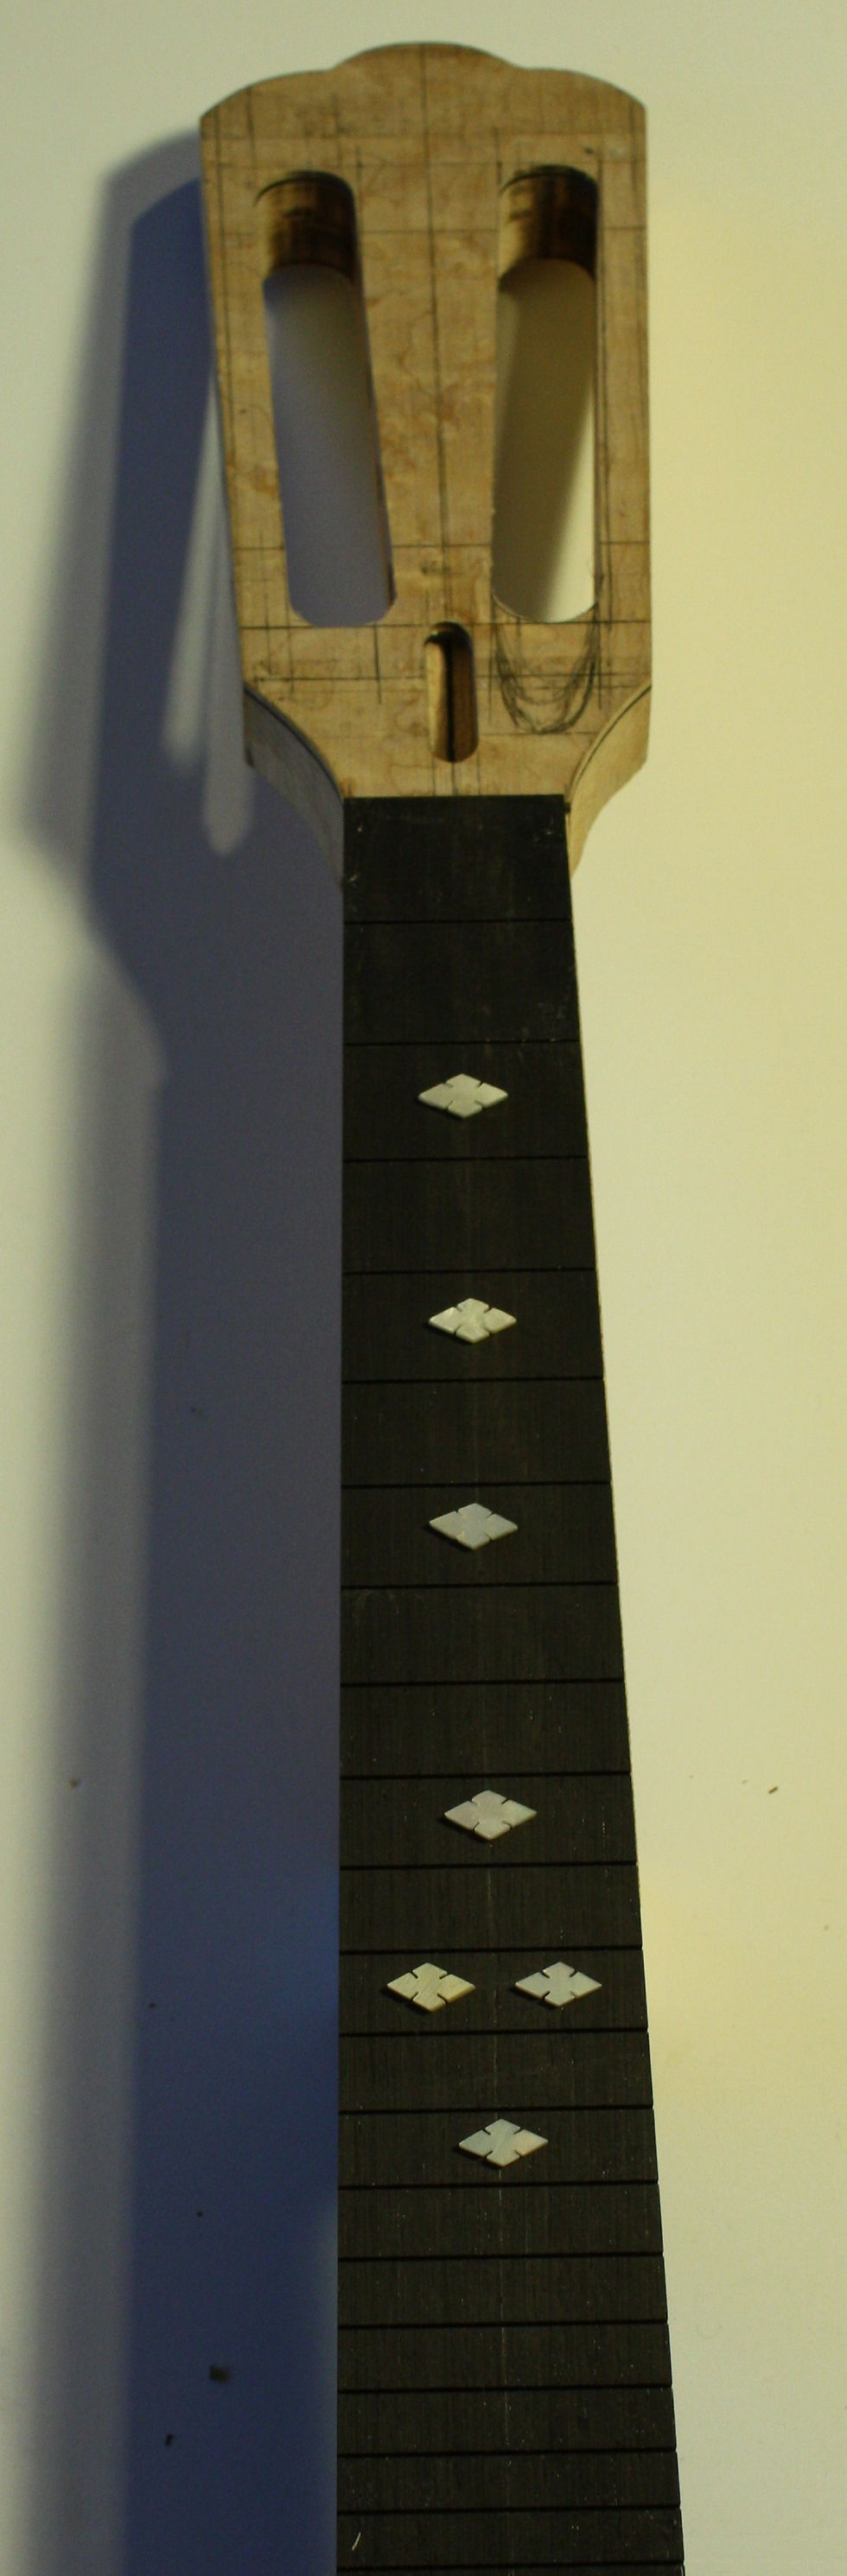
Fingerboard inlay adds pizzazz, but also cues for hand position. This is a fancy inlay of large diamonds, probably too busy with two necks-worth of inlay.
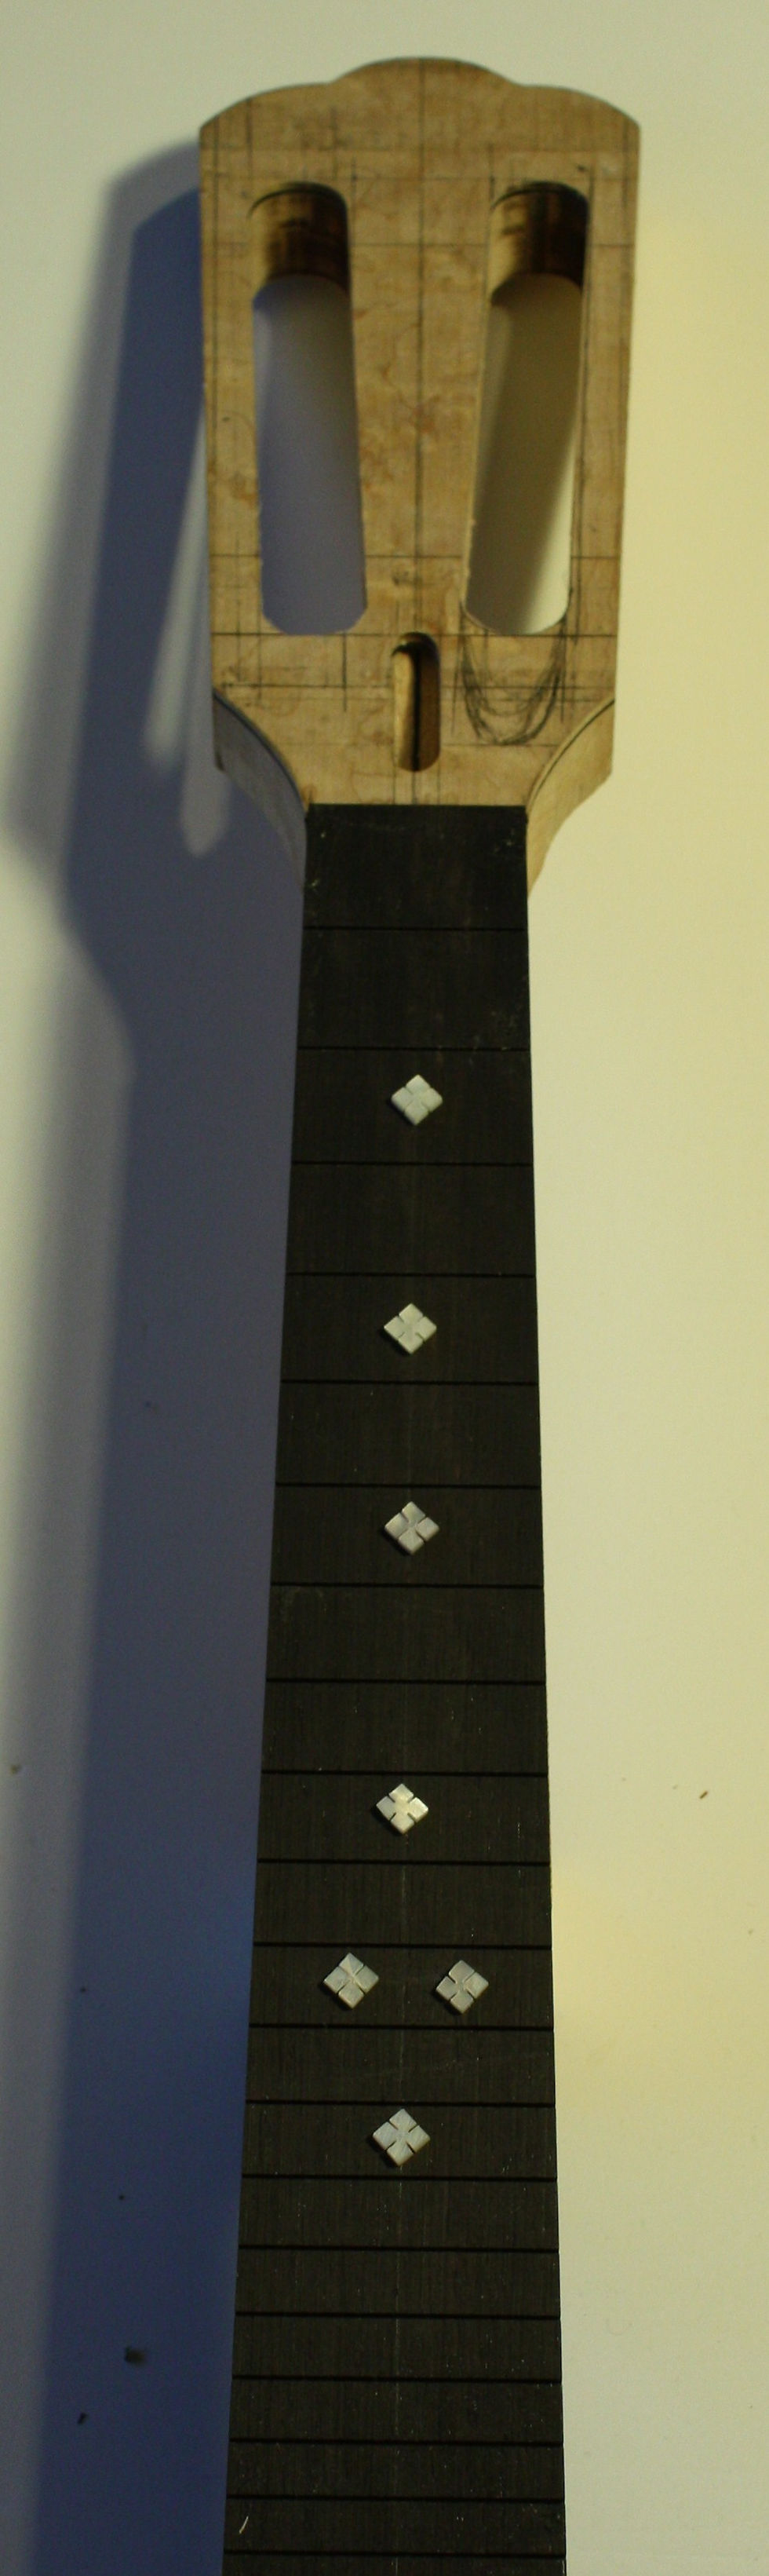
Smaller diamonds, still busy, and too "linear".

Large dots. Boring.

Small dots, with a larger diamond pattern. Simple, understated, but more interesting. That's it!

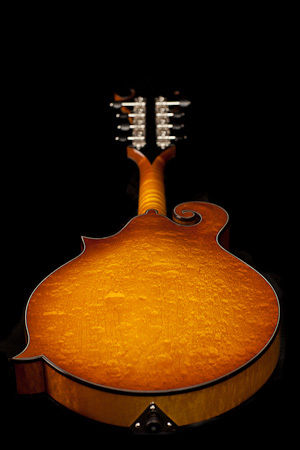
We had to agree on the color of the finish. I wanted a light orange, sort of a strawberry blonde color. This instrument had several design features I liked and wanted to echo. the curved sides are nice. I liked the f-holes, but had already decided on a "D" soundhole. But, look at that tailpiece! Wonderful Art Deco. No way I'll ever find one like it, but, WOW!

Well... her picture came up when I Googled "strawberry blonde". Her hair Is the right color, after all.
Richard suggested a sunburst effect for the stain. We looked at lots of pictures to sort out the color and intensity of the burst effect.

After looking at lots of pictures of color and shading options, this is one of the test panels Richard made. Maybe a little more red, but very nice.